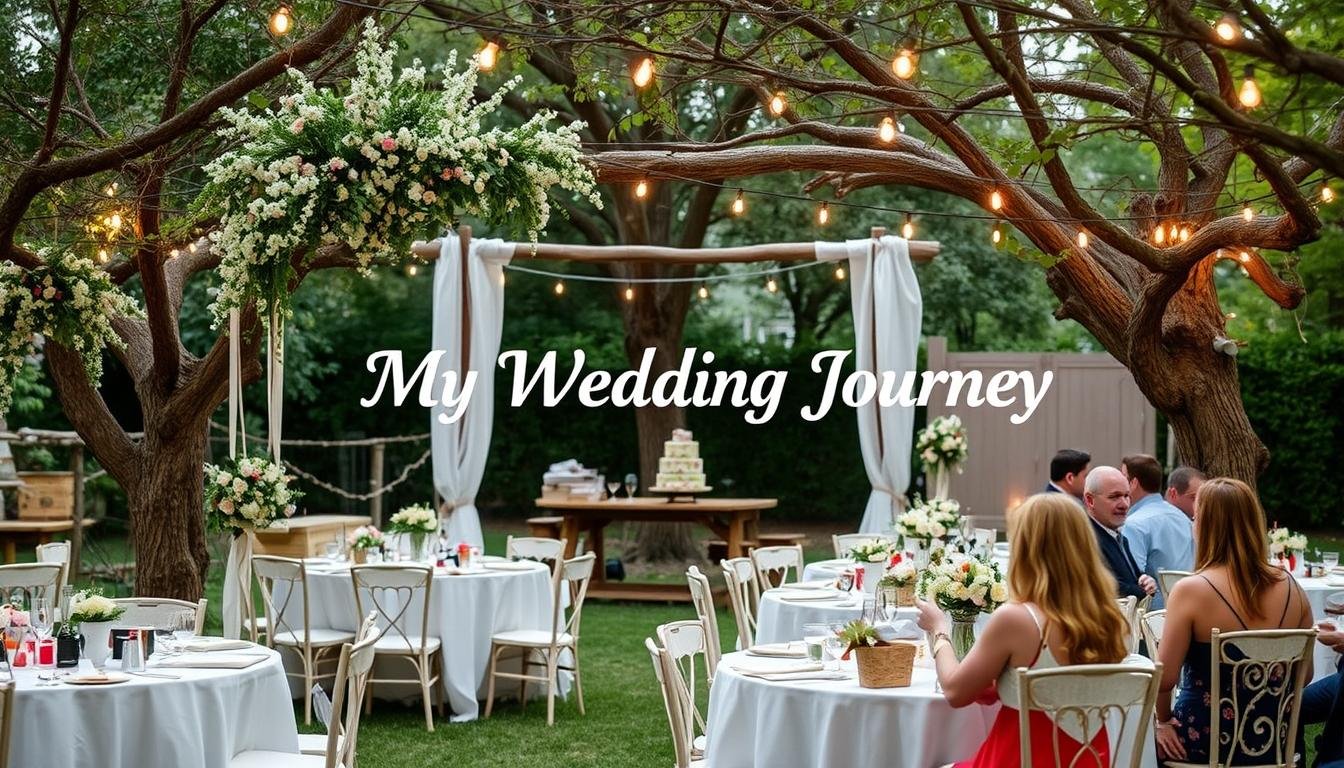
Planning your wedding is like painting a masterpiece—it takes time, patience, and a vision. But when you choose to go the DIY route, every stroke of creativity and effort you put into it reflects a piece of your love story. While hiring a wedding planner is an option for some couples, there’s something truly special about rolling up your sleeves and crafting a celebration that’s uniquely yours.
In this post, we’ll dive into the pros of DIY wedding planning, show you how to overcome common challenges, and empower you to create a beautiful, stress-free wedding day all on your own.
Why Choose a DIY Wedding?
A DIY wedding isn’t just about saving money—it’s about creating a day that feels personal, heartfelt, and entirely “you.” For many couples, the idea of building their wedding from scratch is incredibly rewarding. It’s a chance to bring your vision to life without compromise, infuse your personality into every detail, and enjoy the satisfaction of saying, “We did it ourselves!”
The rise of DIY weddings is no accident. According to recent trends, Pinterest boards filled with “DIY wedding ideas” have exploded in popularity, increasing 35% in 2024 alone. Couples are leaning into the opportunity to make their big day more personal, more creative, and yes—more budget-friendly.
But let’s be real: DIY weddings require effort, planning, and a bit of elbow grease. The key is knowing where to focus your energy and how to balance creativity with practicality.
The Benefits of Going DIY
Cost Savings That Make a Difference
Weddings can be expensive, but taking a DIY approach allows you to cut costs in areas where professional services would traditionally dominate. From designing your invitations to creating your own centerpieces, you can significantly reduce expenses while still achieving the look you want.For example, instead of hiring a florist to craft elaborate centerpieces, one couple I know used seasonal flowers from their local farmer’s market and arranged them with the help of friends. The result? Stunning, budget-friendly centerpieces that cost less than $10 each.
Unmatched Personalization
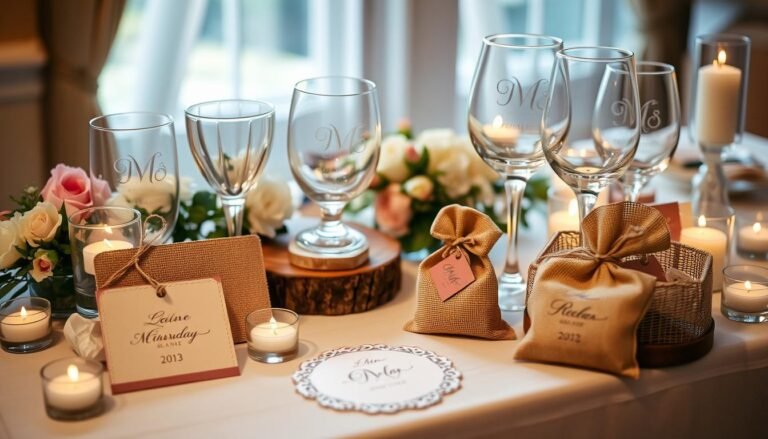
A DIY wedding gives you the freedom to infuse your personality into every aspect of your day. Your wedding can be filled with thoughtful touches that reflect your love story—like handwritten place cards, homemade wedding favors, or decor inspired by your favorite hobbies.Think about it: What feels more special—a generic wedding favor ordered online or a small jar of homemade jam with a tag that says, “Spread the love,” made by you and your partner?Creative Control
DIY means you’re in charge. No compromises, no middlemen. You get to call the shots and ensure every detail aligns with your vision. It’s your chance to play designer and create a wedding that’s authentically you.Pro Tip: Use mood boards or Pinterest to gather inspiration and keep your vision clear. This way, every decision you make feels cohesive and intentional.A Sense of Accomplishment
There’s nothing quite like standing in your beautifully decorated venue on the day of your wedding and thinking, We made this happen. The pride and joy of seeing your hard work come to life will make your celebration even more meaningful.
Popular DIY Projects to Try
Here’s where the fun begins. While some aspects of a wedding are better left to professionals (more on that later), there are plenty of areas where DIY shines:
- Centerpieces: Use mason jars, seasonal flowers, or even candles and greenery for a simple yet elegant look (see more in the next section)
- Decor: Create rustic table runners with burlap, paint your own wooden signs, or string fairy lights for a magical atmosphere.
- Favors: Craft personalized gifts, like mini candles, jars of honey, or potted succulents, that guests can take home and cherish.
- Invitations: Design your own wedding stationery using free tools like Canva and print them at home or through an affordable online service.
I once worked with a bride who loved calligraphy. She hand-lettered her own wedding signage, from the welcome board to the bar menu. Not only did it save her money, but it also added a personal, artistic touch that guests couldn’t stop raving about.
Challenges of DIY (and How to Overcome Them)
While the DIY route is rewarding, it’s not without its challenges. Here’s how to tackle common hurdles and stay on track:
Time Management
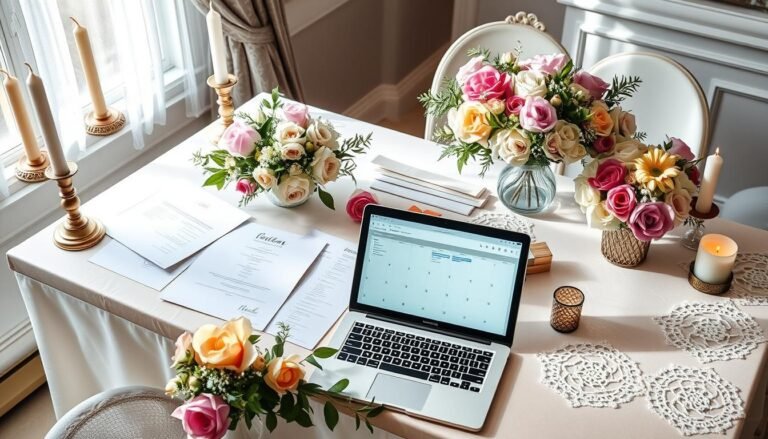
DIY projects can be time-consuming, especially if you’re juggling work, life, and wedding planning. The key is to start early and create a timeline for each project.Pro Tip: Break your projects into smaller tasks and set deadlines to avoid last-minute stress.Quality Control
Let’s be honest—Pinterest fails are a thing. If you’re trying something new, give yourself time to practice before committing to a project. And don’t be afraid to ask for help from crafty friends or family members!Stress Management
For example, instead of making your own wedding cake, consider a hybrid approach—buy a simple, pre-made cake and decorate it yourself with fresh flowers or a custom cake topper.
Taking on too much can lead to burnout. Focus on the projects that matter most to you and outsource the rest if needed.
When DIY Isn’t the Best Option
While DIY is fantastic for decor, favors, and smaller projects, there are a few areas where professionals are worth the investment.
- Photography and Videography: Capturing your big day with quality photos and videos is priceless. Trust a professional to handle this one.
- Catering: Feeding a crowd requires experience, equipment, and time—not something you want to stress about on your wedding day.
- Day-of Coordination: Even if you DIY the planning, consider hiring a day-of coordinator to ensure everything runs smoothly.
Think of it as blending the best of both worlds: DIY where it adds value and personality, and professionals where expertise is essential.
DIY Wedding Planning: Tips for Success
- Start Early: Begin your DIY projects as soon as possible. The more time you have, the less stress you’ll feel leading up to the big day.
- Use Tools and Resources: Platforms like Canva for design, Pinterest for inspiration, and budget trackers like Mint can be lifesavers.
- Recruit Help: Don’t shy away from enlisting friends and family. DIYing together can be a fun bonding experience.
- Set Realistic Expectations: Not everything will turn out perfectly—and that’s okay. Embrace the imperfections as part of your story.
Recruiting Help from Friends and Family
DIY wedding planning doesn’t have to mean doing it all by yourself. In fact, one of the greatest joys of a DIY wedding is involving your loved ones in the process. Whether it’s crafting decor, baking desserts, or setting up the venue, planning with friends and family can turn what might feel overwhelming into a fun and collaborative experience.
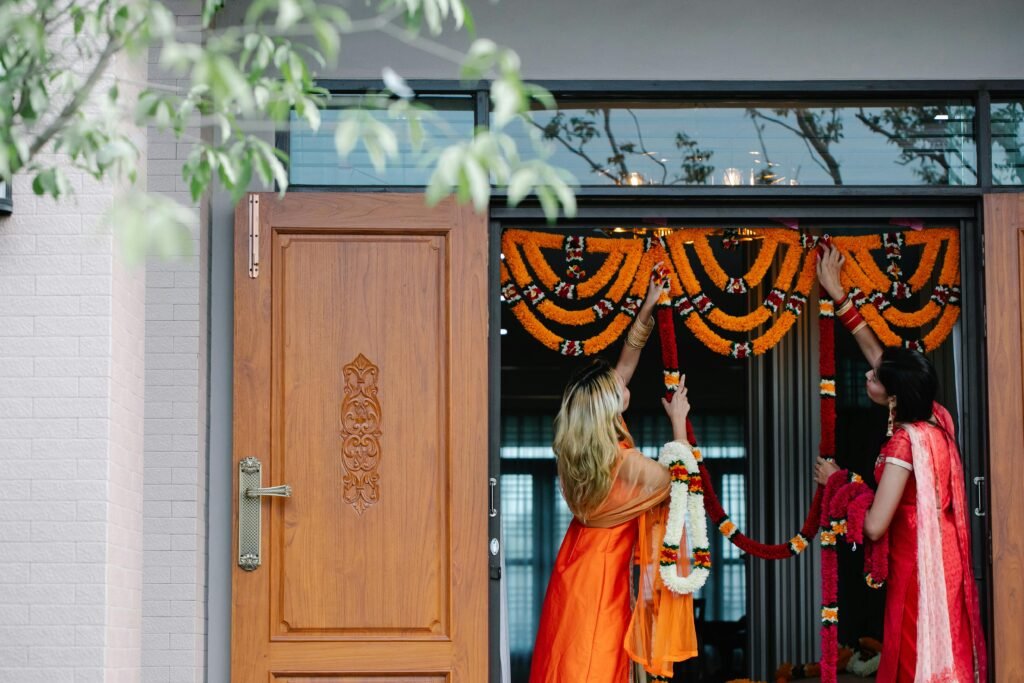
Think of your wedding as a team project—everyone has a role to play, and together you can create something truly magical. Plus, involving loved ones not only takes some of the pressure off you, but it also gives your wedding an even more personal touch, as the people who mean the most to you contribute to making your special day unforgettable.
Here’s how to make the most of your support system:
Tips for Recruiting Help
Play to Their Strengths:
Think about the skills your friends and family already have. Is your best friend a talented baker? Ask them to help with desserts or your cake. Does your cousin have a knack for photography? Maybe they can help with candid shots at your bridal shower. Matching tasks to people’s strengths will make their contributions feel natural and enjoyable.Be Specific:
Instead of vaguely asking for help, assign clear tasks with specific instructions. For example, ask someone to “tie bows on 50 favor bags” rather than “help with favors.” This keeps expectations clear and reduces confusion.Host Crafting Parties:
Turn DIY into a social event! Invite your bridal party and loved ones over for a “wedding crafting day,” complete with snacks, drinks, and music. Use the time to knock out projects like assembling centerpieces, folding programs, or painting signs.Set Deadlines:
Give everyone enough time to complete their tasks without feeling rushed. Share deadlines and check in regularly to ensure things stay on track.Show Gratitude:
A heartfelt thank-you goes a long way. Write personalized notes, send small gifts, or treat your helpers to a post-wedding brunch to show how much you appreciate their support.
Examples of Tasks to Delegate
- Crafting: Assembling centerpieces, designing signage, making favors, or folding napkins.
- Setup: Decorating the ceremony and reception spaces, arranging tables, or setting up the photo booth.
- Day-of Help: Wrangling the flower girls, handing out programs, or managing the guest book.
- Entertainment: A musically inclined friend can create the perfect playlist or even perform during the ceremony.
- Clean-Up: Assign a few helpers to stay after the festivities to pack up decor, gather gifts, and ensure the venue is left in good condition.
When we got married, my wife’s friend was an artist and a graphic designer. He took few of our photos and created beautiful watercolor invitations, saving us hundreds of dollars while adding a personal touch that we (and our guests) loved so much.
Essential DIY Wedding Supplies Checklist
Before you dive into your projects, make sure you’re stocked up on the necessary supplies. Having the right tools on hand will save time, reduce stress, and make your DIY efforts more seamless.
General Supplies
- Hot glue gun (and plenty of glue sticks)
- Scissors (invest in a sharp pair for clean cuts)
- Double-sided tape or adhesive dots
- Ribbons, twine, or string
- Craft paper or cardstock
- Paints (acrylic, spray paint, or chalk paint)
- Paintbrushes (various sizes)
- Markers (metallic or calligraphy pens work great for signage)
- Cutting mat and craft knife
- Measuring tape or ruler
- Floral foam or wire
- Mason jars or vases
- Candles (tea lights, votives, or pillar candles)
- Burlap, lace, or fabric scraps
- Hole punch (great for tags or banners)
- Stencils for lettering or patterns
Floral Supplies
- Pruning shears
- Floral tape and floral wire
- Vases, jars, or containers
- Greenery (eucalyptus, ferns, or ivy)
- Seasonal flowers (budget-friendly options include sunflowers, baby’s breath, and carnations)
Stationery Supplies
- Printable templates or design software (like Canva)
- Envelopes and stamps (if sending out physical invites)
- Wax seals or stickers for a polished touch
Decor Supplies
- String lights or fairy lights
- Wooden crates or pallets (for rustic decor)
- Chalkboards or foam boards (for signage)
- Picture frames (for table numbers or photos)
Budget-Friendly DIY Centerpiece Ideas
Centerpieces are a great place to channel your creativity. With a little ingenuity, you can create stunning table settings without spending a fortune. Here are some ideas to inspire you:
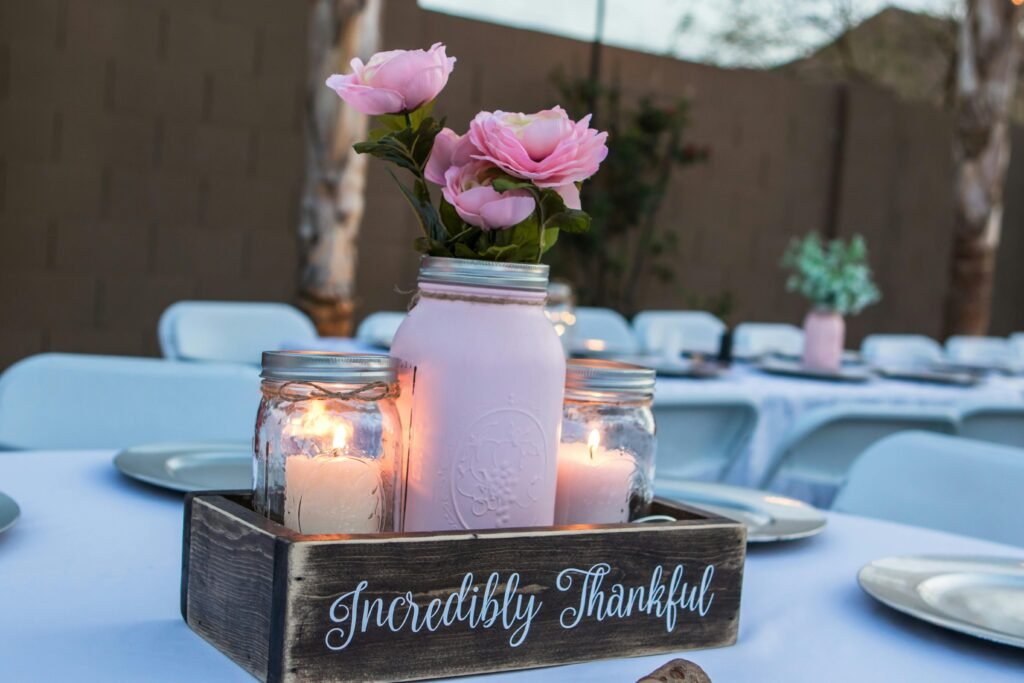
Mason Jar Magic
- Fill mason jars with seasonal flowers or greenery. Wrap twine or lace around the jars for a rustic touch.
- Add a tea light or floating candle for a romantic glow.
Wood Slice Elegance
- Use wood slices as a base. Top with a cluster of candles (pillar, votive, or tea lights) and scatter greenery or faux moss around them.
- Add a small framed photo or a handwritten table number for a personal touch.
Vintage Bottles and Bud Vases
- Collect assorted glass bottles (you can find these at thrift stores or online). Fill each with a single stem of flowers or greenery.
- Group the bottles in clusters for an eclectic, vintage vibe.
Books and Blooms
- Stack old hardcover books in the center of each table. Top with a small floral arrangement or a candle.
- Tie the books together with twine or ribbon for a cohesive look.
Lanterns with Greenery
- Place lanterns in the center of each table and surround them with eucalyptus or faux garlands.
- Add a candle inside the lantern for a warm, inviting glow.
Potted Plants or Herbs
- Use potted succulents, herbs (like rosemary or lavender), or small flowering plants as centerpieces.
- Bonus: These double as eco-friendly favors for guests to take home.
Fruit and Flowers
- Mix fresh fruit (like lemons, oranges, or apples) with flowers in clear glass bowls or compotes.
- This adds a colorful, whimsical touch that feels fresh and unique.
Floating Candle Bowls
- Fill shallow glass bowls with water and add floating candles. Scatter flower petals or greenery in the water for an elegant effect.
Terrariums or Glass Domes
- Create mini terrariums using glass domes or containers. Fill them with faux moss, small succulents, or fairy lights for a magical vibe.
Rustic Milk Cans or Tin Buckets
- Use small tin buckets or vintage milk cans as vases. Fill them with wildflowers or dried arrangements for a rustic, countryside feel.
Final Thoughts
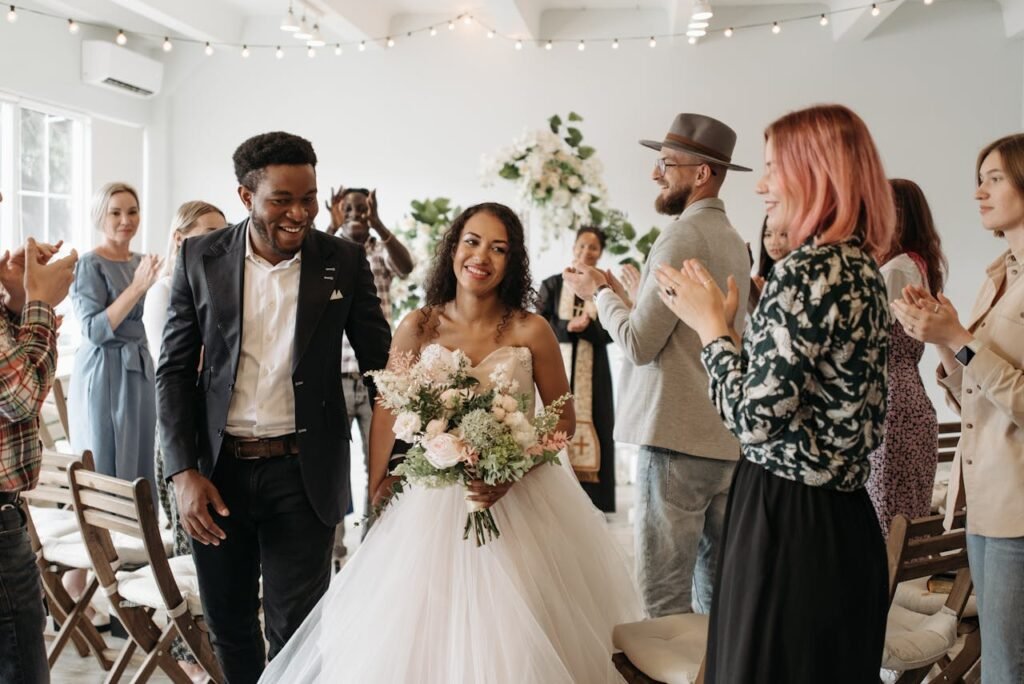
Recruiting help and incorporating budget-friendly DIY elements not only saves money but also makes your wedding planning journey more meaningful. By involving friends and family, you foster a sense of connection and teamwork—and the final result is a celebration filled with love, creativity, and personal touches.
With the right tools, a solid plan, and a dash of imagination, your DIY wedding can be everything you’ve dreamed of and more. So gather your supplies, rally your support system, and get ready to create a day that’s uniquely yours.

